What is Agile Retrospective for Jira
Agile Retrospective Explanation
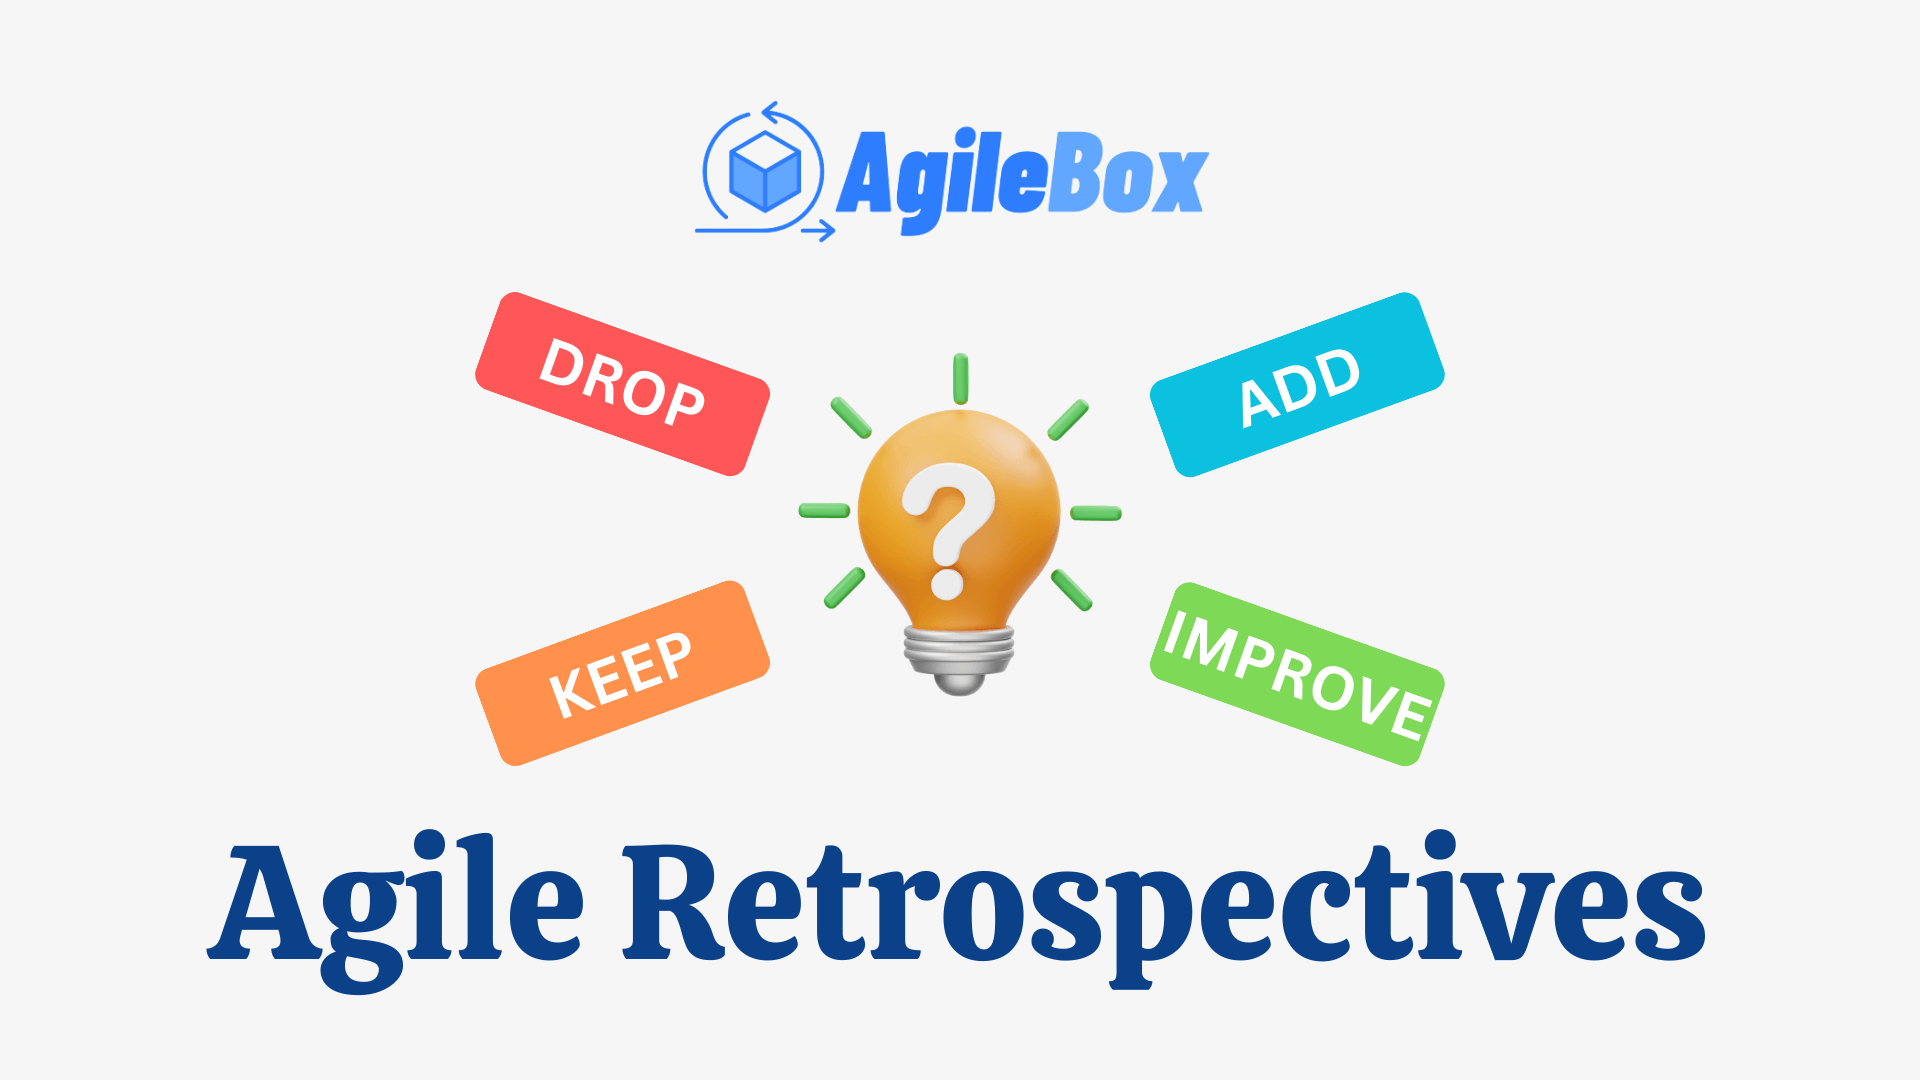
An agile retrospective is a meeting at the end of an iteration or a project in an agile software development process. The purpose of an agile retrospective is to reflect on what went well, what went wrong, and what can be improved in the next iteration or project.
The agile retrospective is a collaborative and constructive way of learning from past experiences and applying the lessons learned to future work. It can help teams to identify and solve problems, celebrate successes, increase team morale, and foster a culture of continuous improvement.
An agile retrospective typically follows a four-step process:
- Set the stage: The facilitator of the retrospective sets the tone and the goals of the meeting and invites everyone to participate and share their feedback.
- Gather data: The team members share their observations, facts, feelings, and opinions about the iteration or project, using various techniques such as brainstorming, voting, or timelines.
- Generate insights: The team analyzes the data and identifies the root causes of the issues, the patterns of behavior, and the opportunities for improvement.
- Decide what to do: The team prioritizes and selects the most critical actions to take in the next iteration or project, and assigns responsibilities and deadlines for each action.
Agile Retrospective for Jira
Jira is a popular tool used by Agile teams to plan, track, and manage their work. The Agile Retrospective add-on provides specific features and functionality to facilitate the retrospective meetings directly within the Jira platform.
Take a look at the features of Agile Retrospectives for Jira by AgileBox here.
Benefits of Agile Retrospective for Jira
Agile Retrospective for Jira offers several benefits that can enhance the retrospective process and improve team collaboration and productivity. Here are some key benefits:
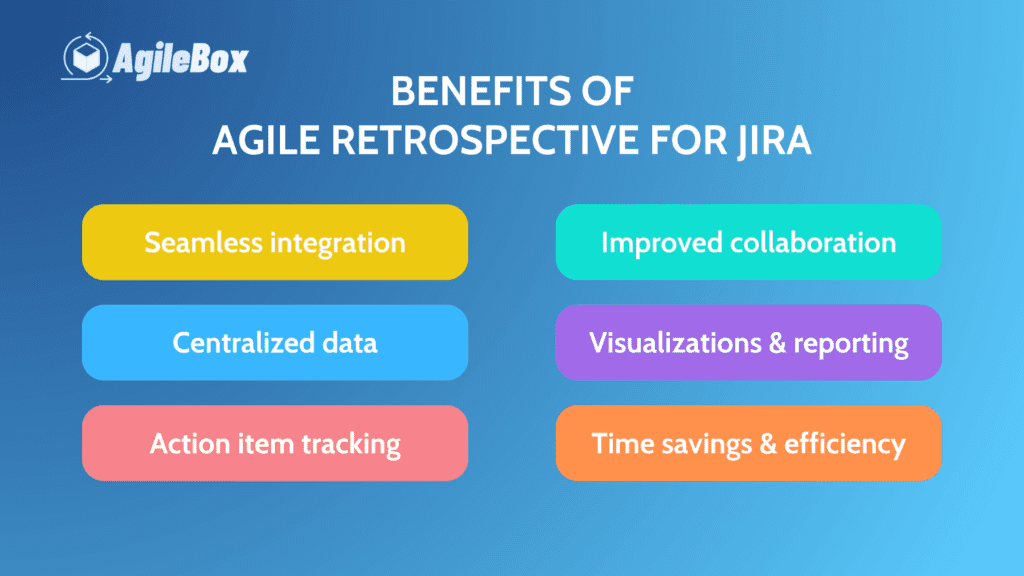
- Seamless integration: Conduct retrospectives within Jira, eliminating the need to switch between tools.
- Centralized data: Store retrospective outcomes and action items in one place for easy access and reference.
- Action item tracking: Create Jira tasks directly from retrospective outcomes, promoting accountability and progress tracking.
- Improved collaboration: Foster engagement and open communication among team members during retrospectives.
- Visualizations and reporting: Analyze retrospective data visually and generate reports to measure progress and identify trends.
- Time savings and efficiency: Streamline the retrospective process, saving time and increasing productivity.
Agile Retrospective for Jira simplifies the retrospective process, enhances collaboration, promotes accountability, and provides valuable insights for continuous improvement. It helps Agile teams leverage the power of Jira to effectively conduct retrospectives, track progress, and drive positive changes within their projects.
Beginner’s Guide to Agile Retrospective by AgileBox
Step 1: Download and Access the AgileBox app on Jira
Here is the direct link to the AgileBox app on the Atlassian Marketplace, make sure you logged in before installing the app.
Agile Planning Poker, Retrospectives, Daily Standup for Jira
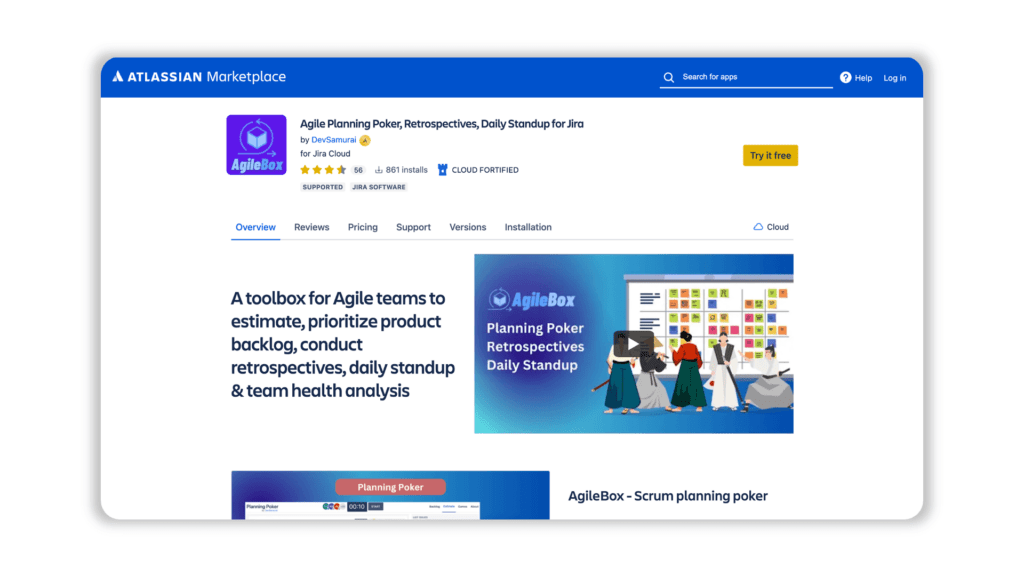
You also can search directly when access to the Atlassian Marketplace website with the keywords: “AgileBox” or “Agile Planning Poker, Retrospectives, Daily Standup for Jira” and find the one that is released by DevSamurai.
Access to the AgileBox app on your Jira software in 2 ways:
- Go to Apps → AgileBox
- Go to AgileBox directly by finding it on your project side menu
Step 2: Go to the Agile Retrospectives tab
Find and Access the Agile Retrospectives tab on the AgileBox app
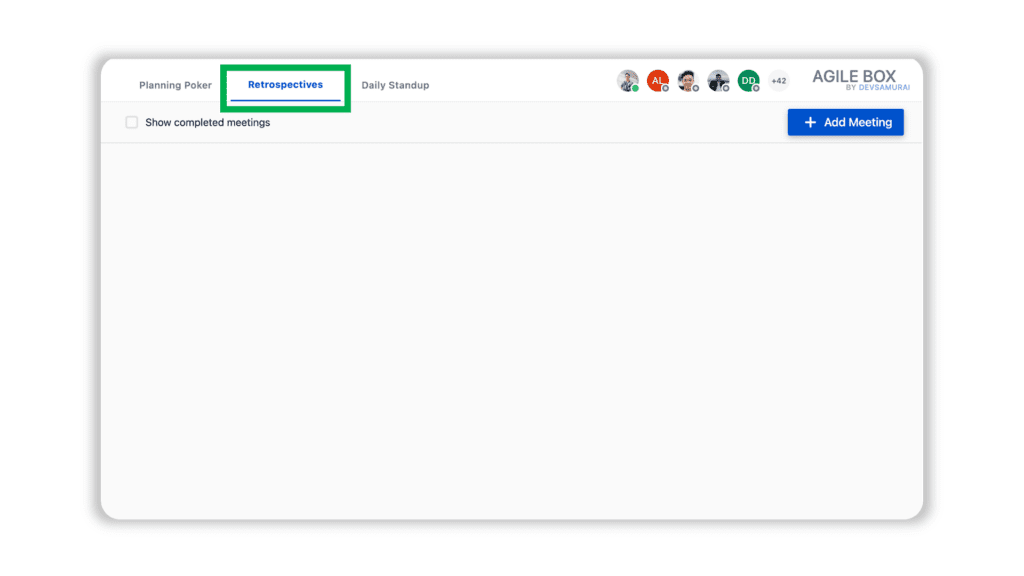
Step 3: Create and Join the new Agile Retrospectives meeting
Click on the Add Meeting button in the top right corner and fill in the required field to create a new meeting:
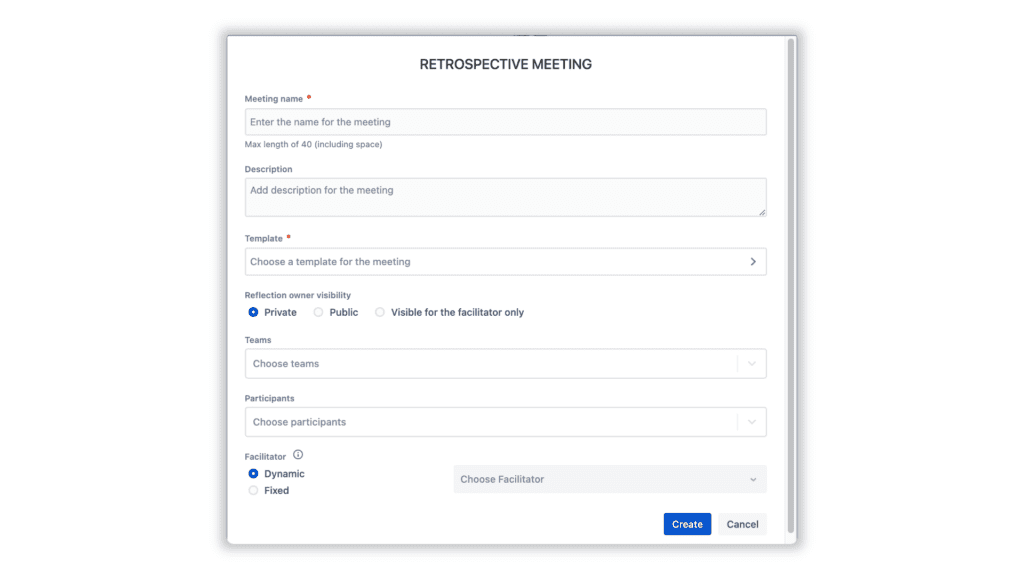
- Meeting name: Enter the name of the meeting
- Description: Add a description for the meeting
- Template: Choose a template for the meeting. There are 8 retrospective templates for teams to choose from.
- Reflection owner visibility: Choose between “Private”, “Public” or “Visible for the facilitator only”
- Teams: Choose teams that are created lately inside the AgileBox app
- Participants: Choose participants in your Jira instance
- Facilitator: Choose between Dynamic or Fixed mode
Join the new meeting by clicking on the Join button on the recently created meeting
Step 4: Reflect Stage
(In this demo, we use the DAKI template for example)
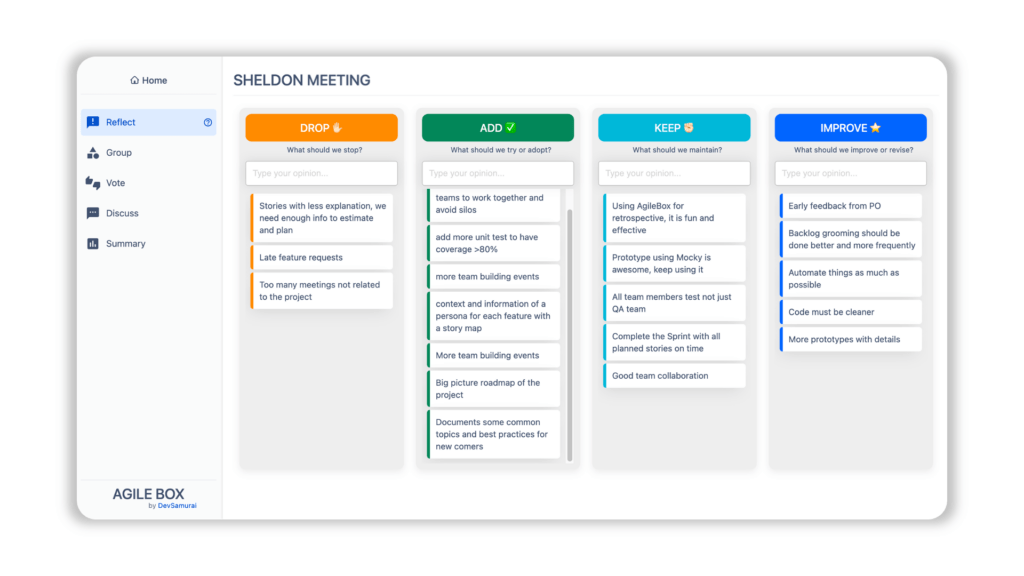
In this stage, each participant will type their opinions for the specific projects into the columns. Opinions from other participants are hidden in this step.
Participants can edit or delete their reflections in this step.
Participants should click on the Ready button after they finish entering their opinions. Then the Facilitator will click on the Next button to move to the next step.
Step 5: Group Stage
At the Group stage, the Facilitator will drag and drop the related reflections in order groups for later discussion.
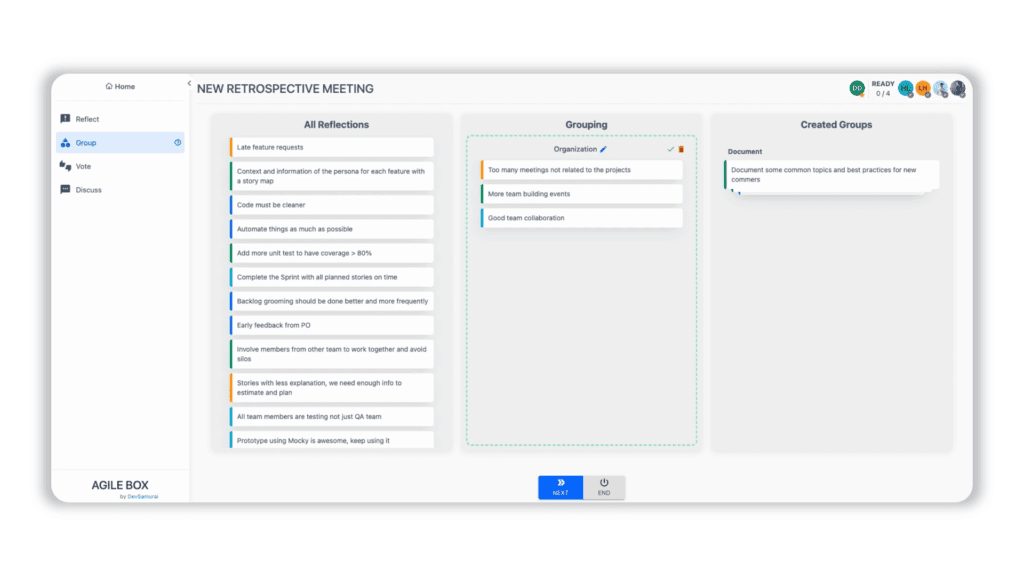
The remaining reflections are automatically grouped as the “Others” group before going to the next stage.
After finishing grouping the reflections, the Facilitator will click on the Next button to move on to the next step.
Step 6: Vote Stage
At the Vote stage, participants will vote for the topics which they think it is important to discuss.
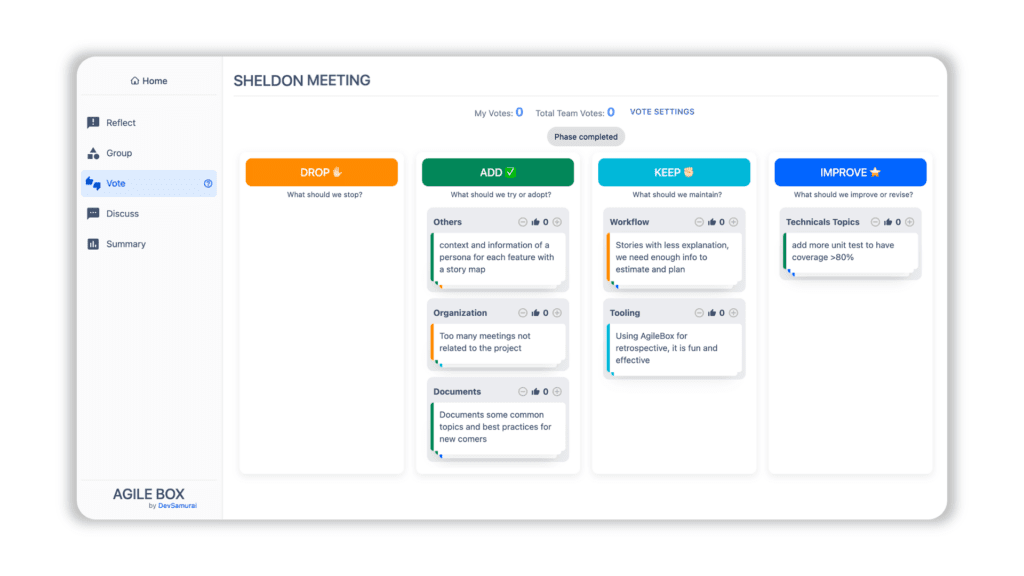
Each participant will have a maximum of 5 votes and 3 votes per group as default. The Facilitator can redefine this in the Vote Settings option.
Participants should click on the Ready button after they finish voting for groups. Then the Facilitator will click on the Next button to move to the next step.
Step 7: Discuss Stage
In the last stage, every participant will discuss the groups from the previous stages.
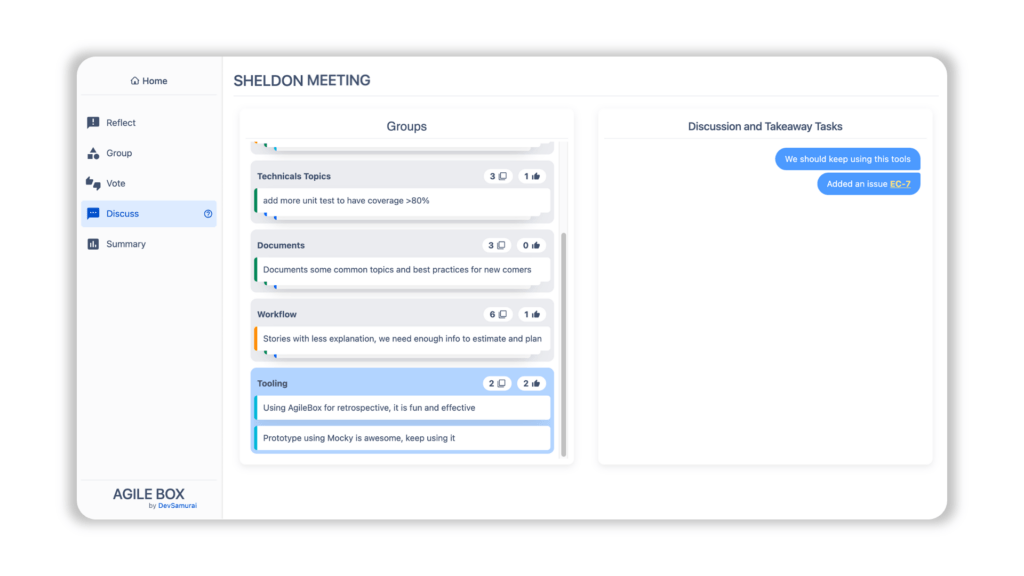
The groups are sorted decreasingly by the number of votes from the Vote Step.
The participants can create new issues for each group by clicking on the Add Issues button when discussing.
Participants should click on the Ready button after they finish the discussion for groups. Then the Facilitator will click on the End button to end the meeting and move to the Summary stage.
Step 8: End the Agile Retrospective meeting
In this stage, participants can see an overview of the meeting by the number of reflections, groups, participants, and new issues.
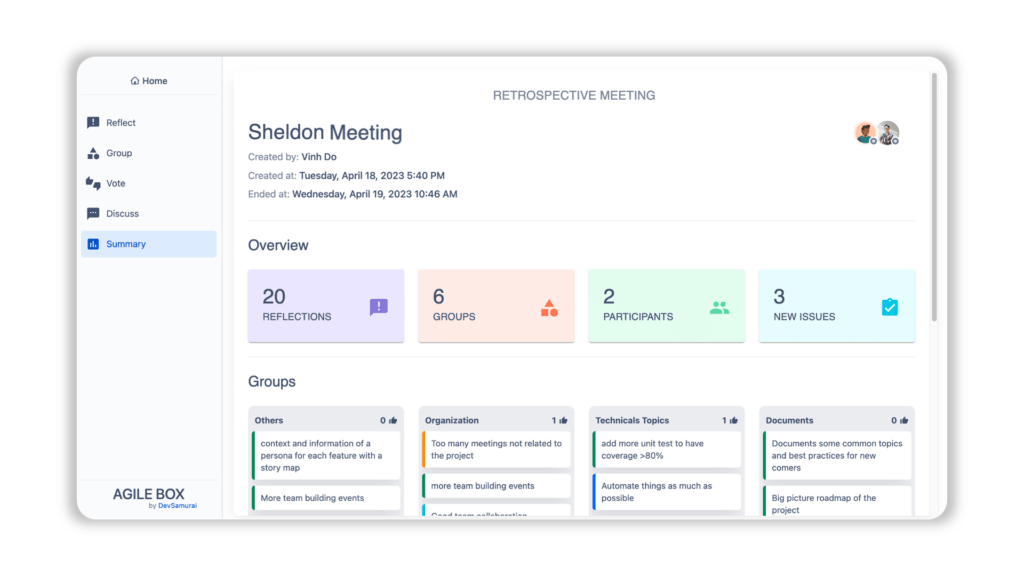
Participants can also see details of groups and created issues in this stage.
All of the previous meetings are achieved and can be accessed by ticking on the Show completed meetings on the home screen.
Conclusion
An Agile retrospective is a meeting where teams reflect on their work and identify areas for improvement. Agile Retrospective for Jira is an add-on that integrates retrospective functionality into Jira, offering benefits like seamless integration, centralized data storage, and improved collaboration. AgileBox is a Jira app that facilitates retrospectives, daily standups, and planning poker. With AgileBox and the Jira add-on, teams can streamline retrospectives and drive positive changes in their Agile projects.
Watch this video for more details and instructions: